.png)

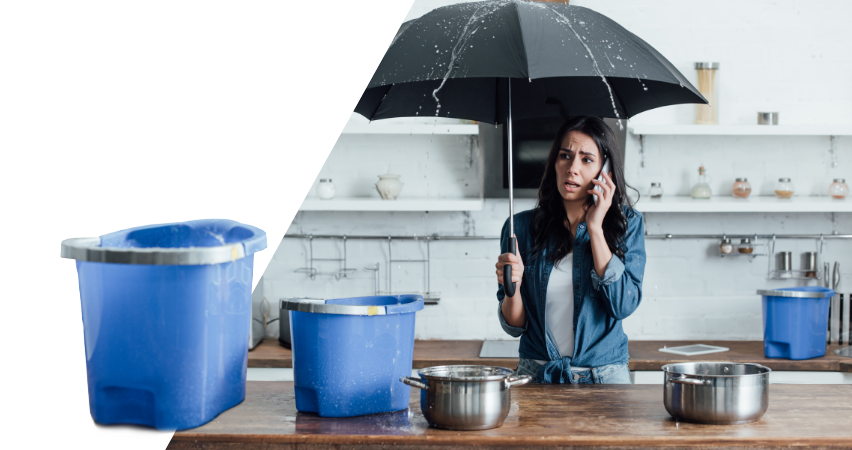
Is your roof leaking? Whether the damage was caused by a storm, run down materials, or inadequate maintenance, a leaky roof can cause significant damage to your home and belongings.
If you suspect or see signs of a leaking roof, it’s best to take action as quickly as possible. Unfortunately, a leaky roof can be difficult to find and fix. However, with the right tools and techniques, many homeowners can fix a minor roof leak themselves. For more significant damage or hard-to-find leaks, or in situations where a DIY project is potentially dangerous for the untrained, hire an experienced roofing professional.
How to Fix a Roof Leak: 7 Steps to Take
Follow these steps to address a minor roof leak. If you suspect your roof has been significantly damaged or if you cannot safely fix the leak, get help from a professional roofing contractor.
Step 1: Locate the Roof Leak
The first step is to find the source of the leak.
Identifying the problem can be complicated since the water may have traveled quite a distance before it found a good place to drip down, but it’s best to start by looking for water discoloration or stains on your ceiling or walls, working your way up to the leak. You can also look in your attic for signs of water, such as water stains on your decking or damp insulation.
If you are able to locate the leak, mark it with pencil or tape so you can find it again. If you can’t find the source of the issue, contact a professional roofing contractor as soon as possible.
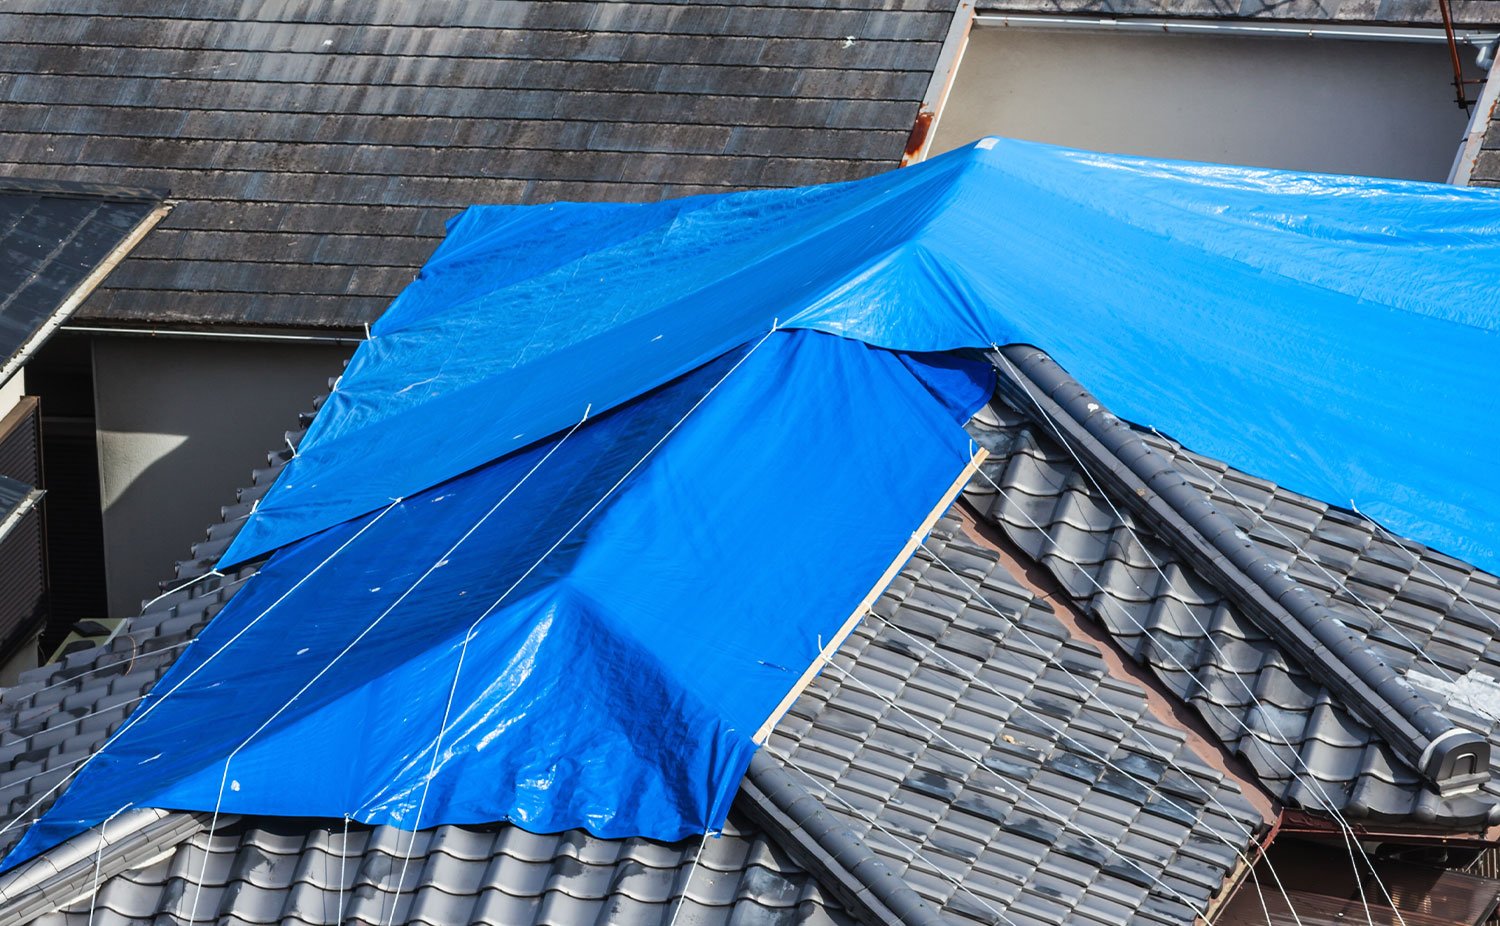
Step 2: Cover the Area with a Tarp
Once you’ve discovered the source of the leak, cover the area with a tarp to stop the flow of water into your home. A tarp is a simple and cost-effective solution for temporarily protecting your property while you gather materials and repair the leak or get in touch with a local roofing company.
Step 3: Assemble Materials & Tools
Next, gather the materials and tools you will need to repair the leak. This list of items may differ based on the type of roof and the extent of the damage, but a few components are common among many residential roofs.
Safety first: Wear appropriate safety gear, including safety goggles and gloves. If you are working on a steep or high roof, consider contacting a professional roofer, who will have equipment like harnesses and scaffolding that is necessary to safely climb on the roof and repair the leak.
If you are using a ladder, ensure it is sturdy and positioned correctly before making any attempt to use it. Ideally, have someone else hold the ladder steady as you climb.
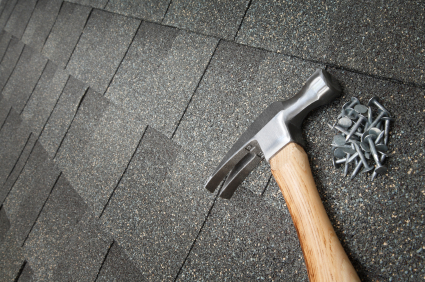
You may need a variety of materials to actually repair the damage, including roofing tape, flashing, replacement shingles, roofing nails, or roofing cement (or another roof sealant). Additionally, tools such as a cordless drill, a hammer, a utility knife, a pry bar, a circular saw, or a caulking gun may be required.
Step 4: Clean & Measure the Damaged Area
Next, clean the surface around the leak. Use a hammer or utility knife to remove any damaged shingles, flashing, debris, nails, or roofing material around the leak. Clean up any dust, dirt, or debris to ensure the surface is as clean and smooth as possible.
Then, use a measuring tape to measure the width and length of the area that needs to be repaired or replaced. This measurement will help you determine the amount of replacement material you will need to fix the damaged area.
Step 5: Repair or Replace the Damaged Components
You may be able to patch a small leak with roofing cement or another roof sealant. For larger leaks, you will need to replace the damaged components.
If you are replacing shingles, use roofing nails to secure the new shingles to the surface. If you need to replace damaged flashing, use roofing cement or sealant to adhere the new material to the roof and create a watertight seal.
Step 6: Inspect the Roof
Check your work. Look for gaps or holes where water could get through the roof and into your home. Inspect the roof from the ground to see if there is any visible sign of damage. Consider using a garden hose to test the repair job and see if any water comes through.
Step 7: Clean Up
After you have confirmed the leak is fixed, it’s time to clean up.
Remove unused materials, such as unused shingles or leftover roofing cement. Use a broom, hose, or leaf blower to sweep away debris or dust. Once you’ve finished cleaning, your repaired roof should look as good as new.
DIY vs. Professional Roofers: When to Hire a Roofing Expert
Many homeowners have the tools, materials, and experience required to fix minor leaks or damage. However, more complex issues or certain conditions require help from a professional roofing contractor.
Climbing on a roof, especially one that is leaking or damaged, is a safety concern. If you attempt to fix a leak on your own, you could not only get injured but also actually make the damage worse. Additionally, a leaking roof is an urgent matter; if you don’t have the time to gather materials, find the issue, and fix the leak before additional damage to your home or belongings, it’s best to contact an expert.
We recommend finding an experienced local roofing professional to get help with your leaky roof.
Contact the Experienced Chicago Roofers at Champion Roofing
At Champion Roofing, we are a recognized leader in the Chicago roofing industry. Our professional roofing contractors offer a range of services, including roof maintenance, repair, and replacement—all featuring the high-quality work that comes with 30 years of experience serving residents in the Chicago area.
Our roofing team is ready to guide you through your project every step of the way. Whether you need to fix a leak, repair damaged shingles, or replace your roof entirely, we are here to help.
Contact us today to get a free quote. Your roof is worth the investment.
.jpg)