.png)
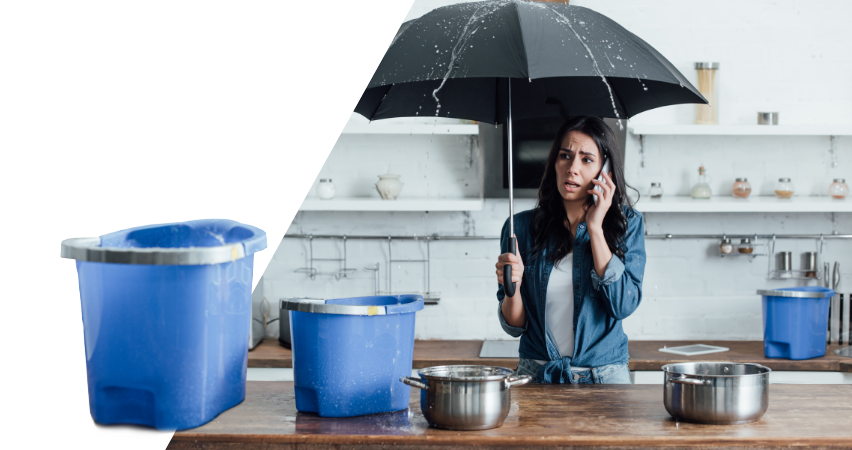
If your roof is damaged or in need of repairs, one of the best ways to prevent further damage is to put a tarp on the roof.
Tarping your roof is a temporary measure that can help protect both the roofing system and your home and stop issues from getting worse while you wait for repairs to be made. Some homeowners or property owners with experience solving minor roofing issues may feel comfortable tarping the roof themselves, but another, safer option is to ask an experienced roofer to address the issue.
Why Would You Need to Tarp Your Roof?
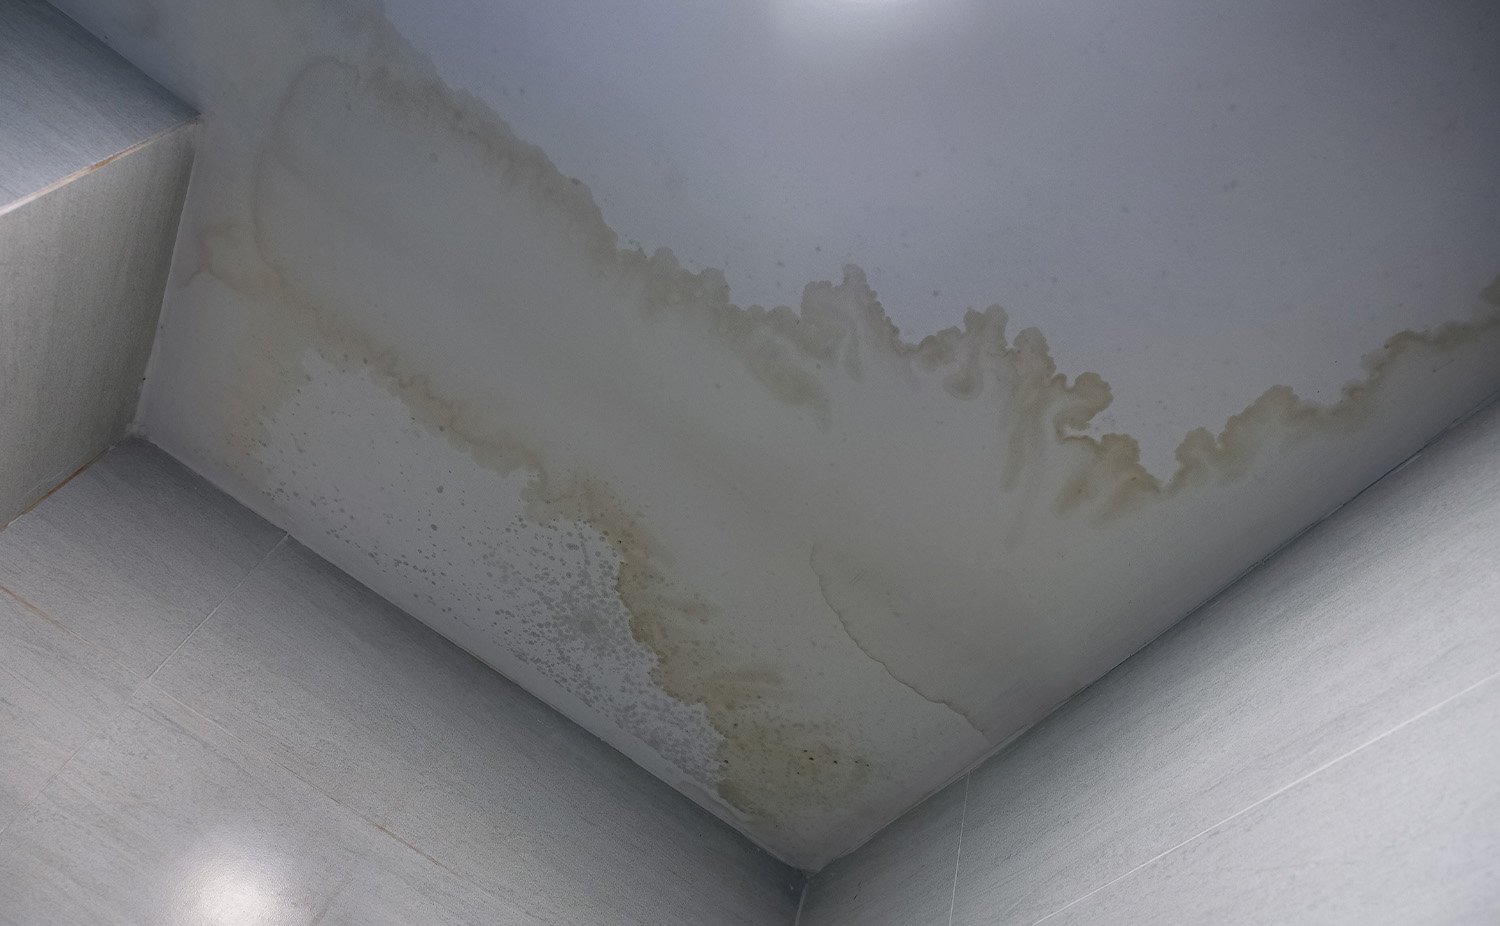
A tarp on your roof isn’t aesthetically pleasing, but it’s an important tool that can protect your home from the elements. If your roof is damaged by bad weather or fallen tree limbs, or if there is a delay during the repair or installation process, putting a tarp on your roof is a temporary solution.
Not only do tarps protect your roof from further damage, prevent mold and rot, and keep the interior of your home safe, but they also may be required by your insurance company. Many policies require homeowners to use a tarp to make sure damage doesn’t get worse. If you don’t install a tarp, your roof insurance claim may be denied. However, some insurance companies will cover the costs of professional tarp installation if it is required by their policy.
How to Put a Tarp on a Roof
Whether you hire a local roofing contractor to put a tarp on your roof or decide to do the job yourself, here are the general steps involved in the process.
Step 1: Gather Supplies
Tarping a roof requires some equipment and materials:
- Heavy-duty tarps
- Tape measure or other measuring tool
- Ladder
- Protective gear
- Either sandbags or nails/screws and thin wooden boards
Roof tarps come in many sizes and can be as large as 20 x 40 feet. Make sure you find tarps that are heavy-duty and designed for outdoor use so they can withstand the elements—which is especially important if there is more bad weather coming in the next few days.
Step 2: Assess the Damage
Determine the extent of the damage to your roof. If you can’t assess it safely from the ground or a ladder, don’t risk climbing up on the roof. It may be so damaged that it gives way.
If you can’t safely or accurately assess the damage, ask a local roofer to conduct an inspection.
Step 3: Check for Safety Hazards
If the roof has severe damage, there are signs of structural issues, or more storms are coming, don’t climb on the roof. Your safety is more important than the roof, and proceeding with caution is vitally important.
In cases where there are safety hazards or your roof is not otherwise easily accessible, call an experienced roofing contractor for help.
Step 4: Measure the Damaged Area
Assuming it is safe to do so, use a tape measure to measure the damaged area. This measurement will help you determine the size of the tarp you will need to protect your roof. If you don’t have a tarp big enough to cover the damage, you may have to use more than one or purchase a larger size.
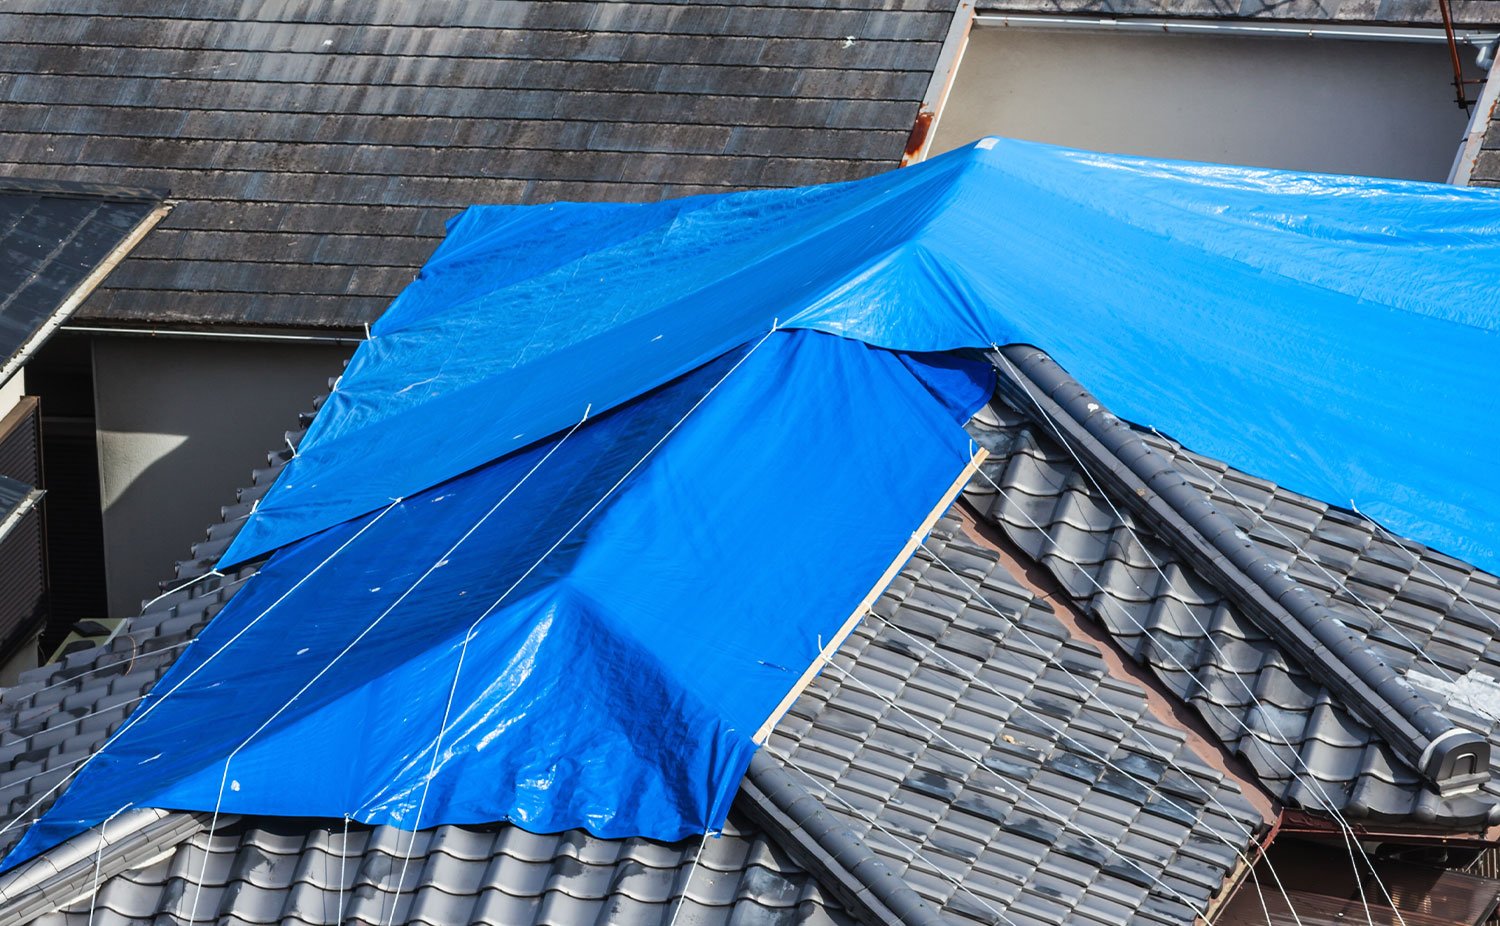
Step 5: Position & Hold Down the Tarp
Lay your tarps over the damaged area. They should be stretched as tightly as possible and fully cover the area without sagging or leaving any gaps. Make sure there is at least three or four feet of excess tarp that goes beyond the damaged area. Stretch the tarp as far as possible to help prevent damage.
Use wooden boards or sandbags to temporarily hold the tarp down.
Step 6: Secure the Tarp in Place
If repairs are imminent, you may be able to just use sandbags to secure the tarp.
However, if you need the tarp to last longer, you can secure the tarp in place with wooden anchor boards, nails, screws. Screw the boards into the roof and nail the tarp to the boards to secure it tightly.
DIY vs. Professionals: What’s the Best Way to Tarp a Roof?
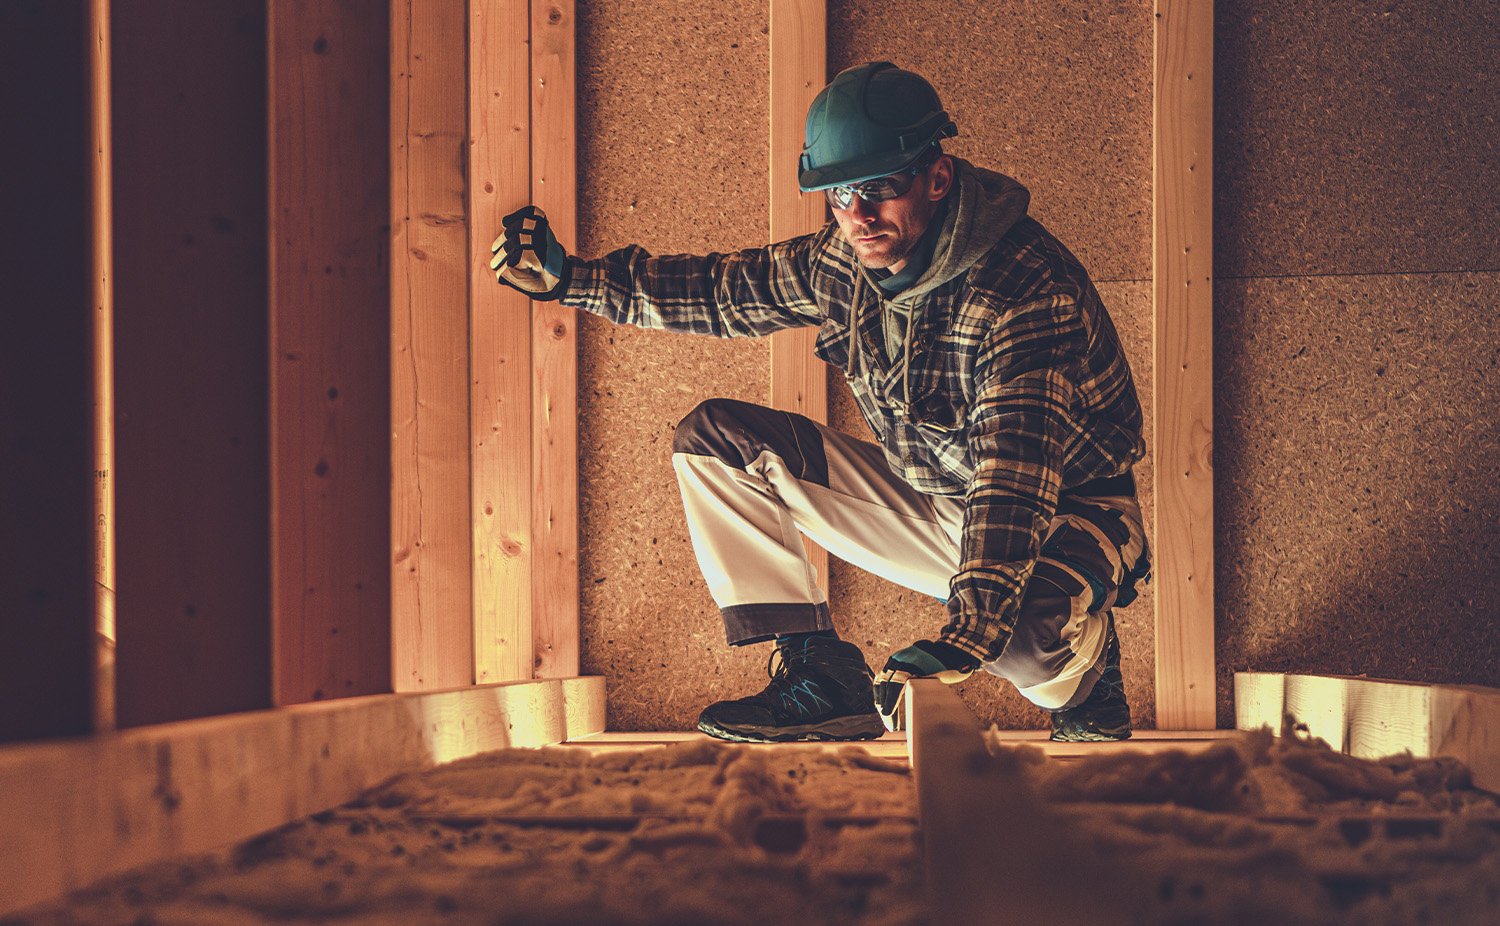
Consider hiring a professional roofing contractor to tarp your roof instead of doing the work yourself.
Roofing work—including putting a tarp on a roof—is dangerous. The risks also increase when the roof or structure is damaged, which is likely the case if a tarp is required. Unless you have experience dealing with roofing issues and the property safety equipment, we recommend contacting an experienced roofer to install a tarp over your roof damage.
Roof Tarping: Safety Comes First
If you decide to move forward with tarping your roof yourself, safety comes first. At al times, take the necessary safety precautions, including but not limited to the following:
- Look for safety hazards like storm debris or downed power lines
- Check the structural integrity of the roof before proceeding
- Avoid installing a tarp during poor weather conditions (rain, wind, snow, storms, etc.)
- Keep an eye out for tripping hazards
- Do not walk on the tarp (the material is slippery, especially when wet)
- Use the ladder properly and follow safety instructions to prevent falls or other injuries
Additionally, don’t forget to wear proper protective equipment like boots, gloves, and goggles.
Contact the Chicago Roofing Experts at Champion Roofing
At Champion Roofing, we are a recognized leader in the Chicago roofing industry. Our professional roofing contractors offer a range of services, including roof maintenance, repair, and replacement—all featuring the high-quality work that comes with 30 years of experience serving residents in the Chicago area.
Our roofing team is ready to guide you through your project every step of the way. Whether you need to repair a leak, protect your roof from damage with a tarp, or replace your roof entirely, we are here to help.
Contact us today to get a free quote. Your roof is worth the investment.